 The image above shows a snapshot of a newly-installed version of Windows XP SR2, with Internet Explorer 7 and .NET Framework 1.1 and 2.0 installed. There are plenty of fragmented files, many of which are caused by the downloaded security updates and patches. The yellow files are fragmented, and the start of the hard drive is the bottom left. The pink area is the reserved space for the Master File Table (MFT).
 Here is a more familiar picture of the drive, using WDD. The red files are fragmented, and the MFT reserved space is just shown as empty space.
 The idea is to create a "typical" workstation that reflects currently available software. Some of the utilities are used to take measurements, and others were used to set up the workstation the way I normally set up computers I install software on.
Testing the system
The data collection process works like this:
- Restore the full drive image, including all fragments.
- Install and updated version of prefetch.exe with the correct testing files.
- Install the required test defrag program.
- Reboot and run the first round of tests.
- Allow the defrag program to do its best to defrag the drive. This may take several attempts and several reboots.
- Reboot and run the second round of tests.
- Install Microsoft Office 2007 Professional trial edition.
- Reboot and run the third round of tests.
- Open a test document as part of "normal usage"
- Allow the defrag program to do its best to defrag the drive. This may take several attempts and several reboots.
- Reboot and run the fourth round of tests.
- Run HD Tune to test the hard drive.
- Copy all the test results off the drive and analyse them.

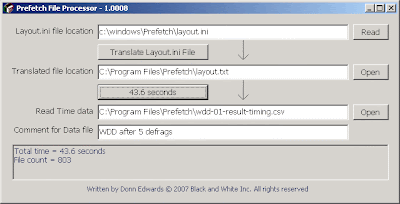
 The benchmark is run at the same time after each reboot, to ensure consistency. If a program like Diskeeper is being tested, the Diskeeper service is disabled before the reboot, so the measurements are not affected by the software being tested.
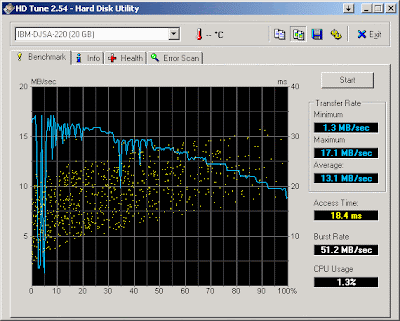
 I used HD Tune to test the speed of the drive under normal conditions after a reboot, and the graph is shown here. I will post the results as they become available, complete with the raw data in spreadsheet form, so others can examine the data and provide comments.
No comments:
Post a Comment