Clarion is a long-established database programming language and environment from
SoftVelocity, but I'm a relative newbie. I have used
Microsoft Access 97 since it was launched, and also integrated it with
Microsoft SQL Server. But moving to
Clarion has been quite a learning curve, mostly because there is a whole bunch of stuff that I need to un-learn. So I decided to document the stuff I am learning, hopefully to help others.

A lot of the concepts and methods I have used for years just don't apply to the
Clarion environment.
Access97 has aged gracefully, even in
Windows 10, but
Clarion tends to show its age more easily. It generates apps that are stable and reliable, but many of them still look like they were written in
Windows 3.1 or
Windows 95. Fortunately there are fixes and extra goodies for this, plus an active community of developers who are very helpful. Just don't start comparing
Clarion to
Visual Studio or
Microsoft 365, because you will be missing the point entirely.
If you don't already have it, download and install
OpenShell to get a classic style start menu.
These are the files we need to install. We will install the "
Visual C++ Redistributable Packages for Visual Studio 2013" file first, because it is needed later. You may also need it for distribution with any applications you create using
Clarion.
Agree to the licence terms and click "Install". We are doing a 32-bit install because
Clarion is a 32-bit application. Click "Close" when the setup is successful.
Now double-click on the Clarion11PE_installer.exe
Even though we have just done the installation of the C++ libraries, click "Yes". Wait a few moments while the configuration is checked, and then click "Next" to begin the
Clarion installation. Accept the license agreement and click "Next" for the Typical install.
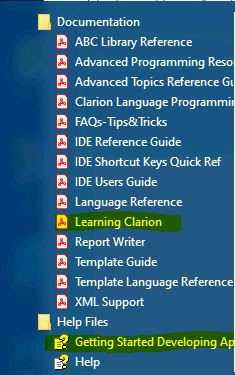
It is best to use the default destination folder of "C:\Clarion11" and click "Next" twice, followed by "Finish". The start menu will now contain a program folder called "Clarion PE 11"
Click on the
Clarion icon to start the development environment for the first time. Click "Yes" to register
Next, open the text file that contains the user name and serial number for
Clarion 11. Select both the user name and the serial number and copy them to the
Windows clipboard. Return to the registration screen and click the "Paste" button, which should then display the information. Click "Validate" to check the details and register the application.
You should get to the start page.
Find the
Clarion icon on the taskbar, right-click and select "Pin to Taskbar". Close the development environment.
Now it's time to install the example files. Start with the oldest one first, but remember to change the destination folder to "C:\Users\Public\Documents\SoftVelocity\
Clarion11" instead of "C:\Users\...\Clarion9" or "C:\Users\...\Clarion10"
If you installed more than one version of the example files, you can safely delete the older menu entries from the menu, because they do exactly the same as the "Clarion 11 Examples and Lessons" menu item.
The last item is
DebugView++, an open source utility that is really helpful for debugging your code.
Download the latest version from
GitHub. I use the 32-bit version. Extract the DebugView++.exe from the ZIP file, or download the exe file directly, and place it in the c:\Clarion11 folder or anywhere else that you find convenient. Run it and pin it to the taskbar for easy access. It does not require installation, but you can do that too if you like, by downloading the .msi file.